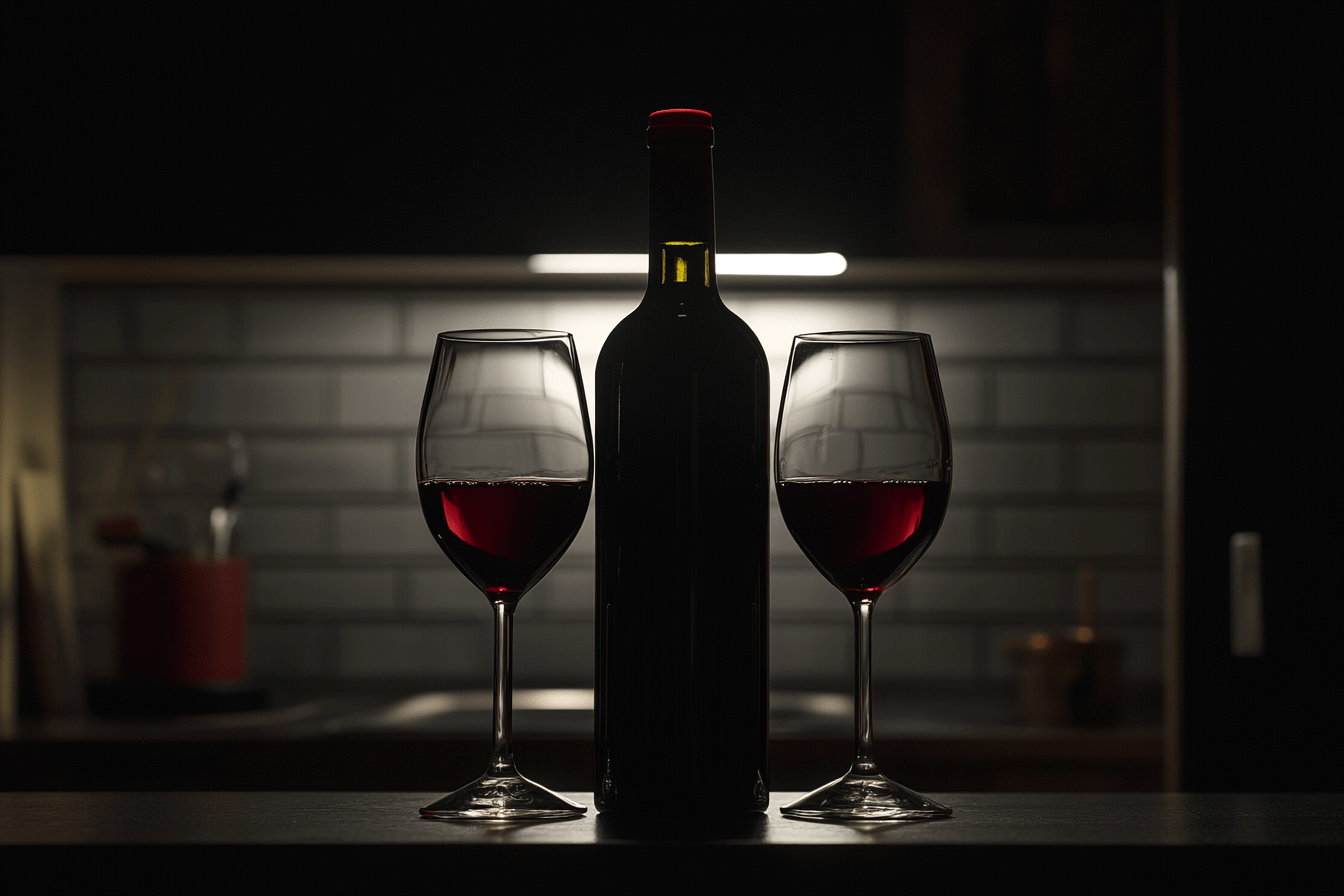
Home winemaking is an age-old tradition that has experienced a resurgence in recent years. Whether you’re a wine enthusiast or simply curious about the process, creating wine at home is both fun and rewarding. While it may seem intimidating, with the right ingredients, equipment, and a touch of patience, you can craft a delicious wine in your own kitchen.
One often-overlooked aspect that can elevate homemade wine from good to great is the use of wood barrels, especially oak barrels or even more exotic choices like cherry barrels. These barrels infuse unique flavors and add depth to the wine. In this guide, we’ll walk you through the basic steps to start making wine at home and explain how using oak or cherry barrels can give your wine a professional touch.
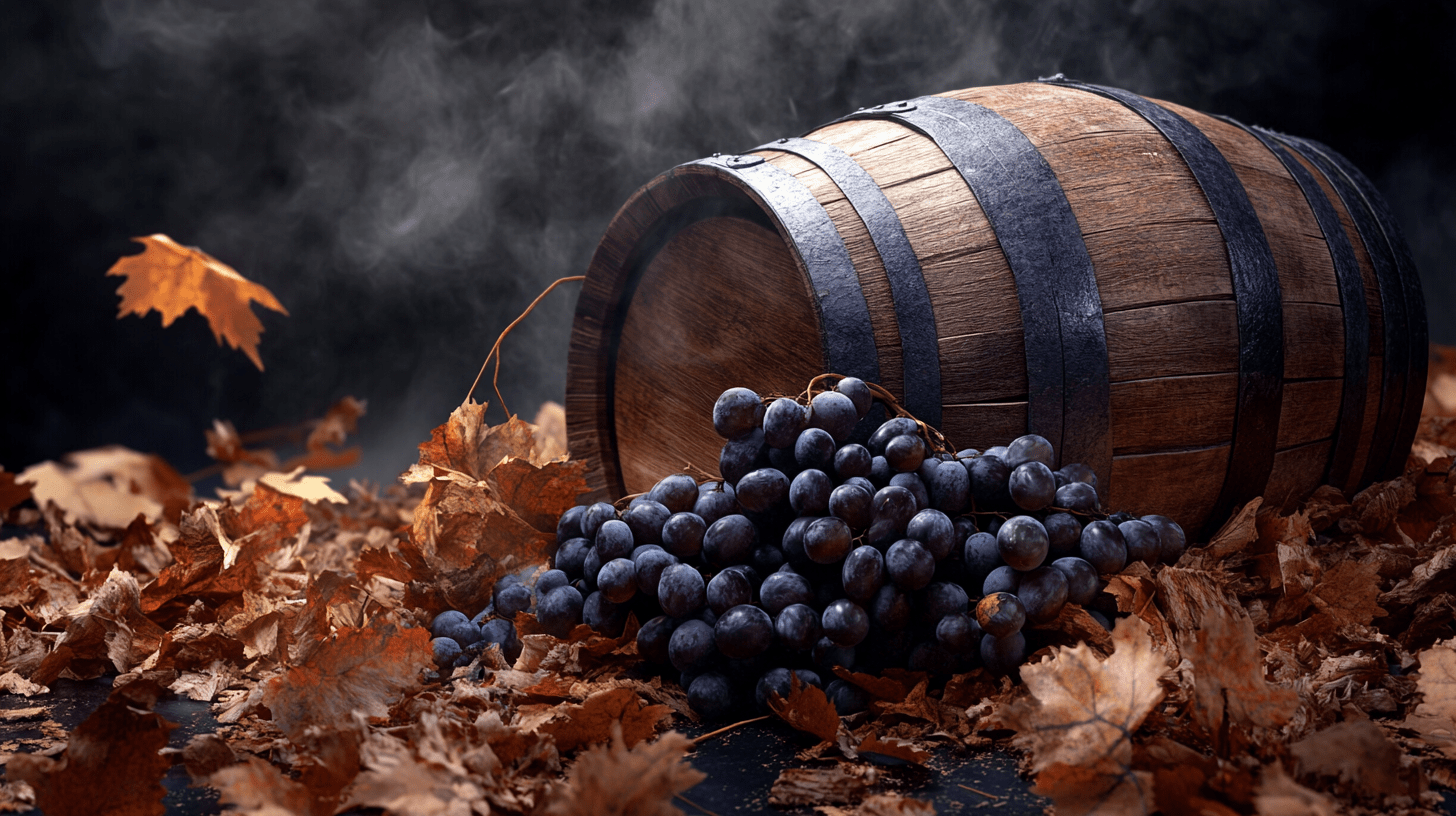
Why Wood Barrels Matter in Winemaking
Using wood barrels in winemaking isn’t just about storage; it’s about flavor and character. Here’s why they’re so special:
- Flavor Infusion: Wood, especially oak, contains compounds like tannins, vanillin, and hemicellulose, which can impart flavors such as vanilla, spice, and toasted wood to your wine. This enhances complexity and smoothness.
- Maturation: Storing wine in wood barrels allows for a slow oxygen exchange, which helps to mellow and mature the wine, making it taste richer and more balanced over time.
- Custom Flavors: While oak barrels are the traditional choice, using barrels made from cherry, chestnut, or even acacia can add distinct, custom flavors to your wine. For example, cherry barrels can add a sweet, fruity undertone.
Basic Ingredients for Homemade Wine
Before diving into the step-by-step process, here’s a list of the essential ingredients and equipment you’ll need to make wine at home:
- Fruit or Grape Juice: The most traditional base for wine is grape juice, but you can also use other fruits like berries, apples, or even peaches.
- Sugar: Sugar helps to feed the yeast during fermentation, increasing the alcohol content and adding sweetness to balance the flavors.
- Wine Yeast: Not all yeasts are the same. Specialized wine yeasts help convert sugars into alcohol while enhancing specific flavor profiles.
- Water: You’ll need water to adjust the concentration of your juice or fruit mash if needed.
- Oak Barrels or Cherry Barrels: The star of the show in this blog. These will be your aging vessels. If you’re not ready to invest in barrels, you can also use oak chips or wood staves as an alternative, but barrels yield the best results.
- Yeast Nutrient: This optional ingredient helps your yeast stay active and healthy during fermentation.
- Campden Tablets (Potassium Metabisulfite): These are used to kill off any unwanted bacteria or wild yeasts before fermentation begins.
- Acid Blend: This balances the wine’s acidity, ensuring a refreshing taste.
- Wine Bottles and Corks: Once fermentation and aging are complete, you’ll need clean bottles to store your wine.
Step-by-Step Guide to Making Wine at Home
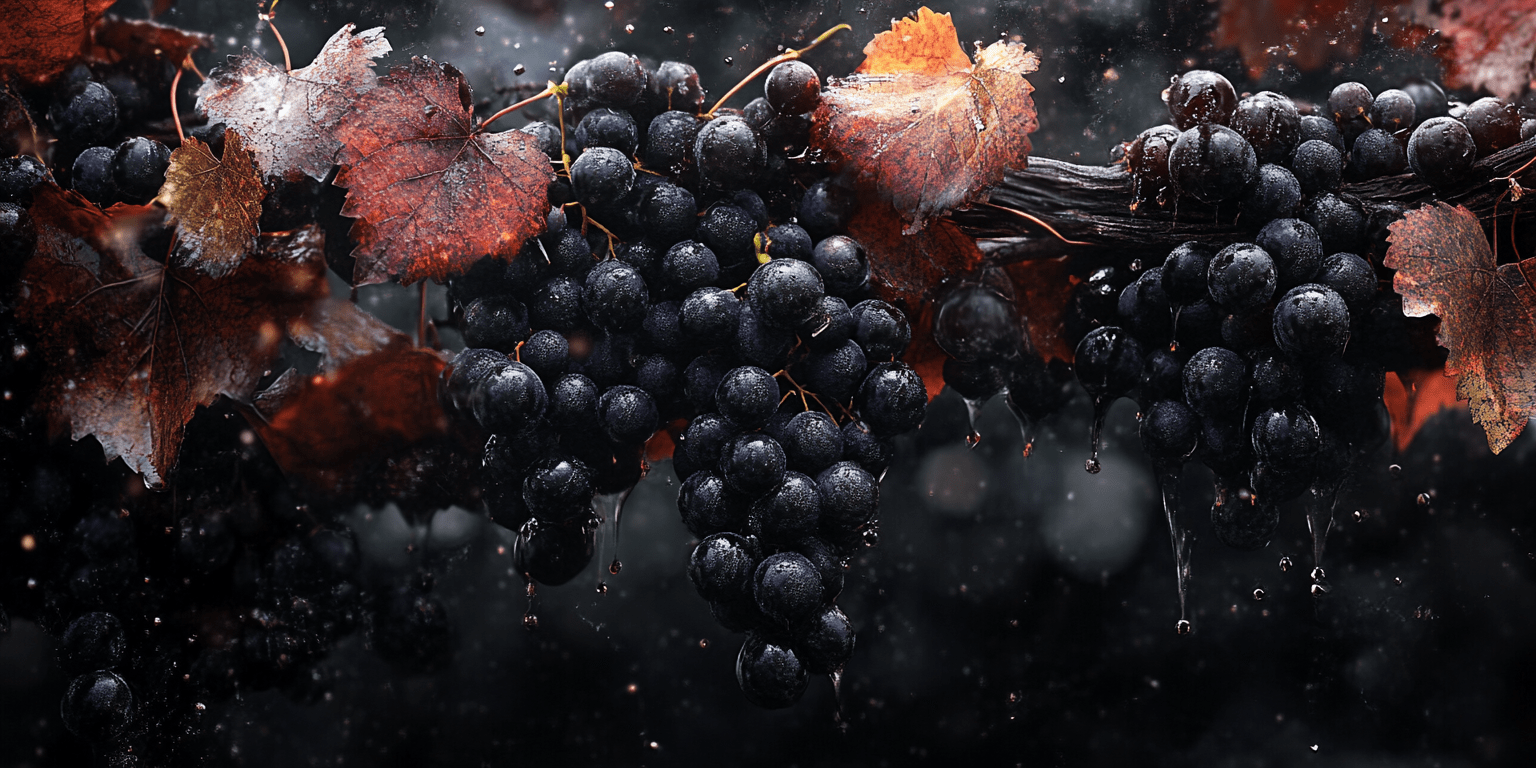
1. Choose Your Base (Grapes or Other Fruits)
- Grapes are the most popular choice for winemaking, but other fruits like cherries, apples, or blackberries can be used to create fruit wines.
- For beginners, it’s often easiest to use a pre-pressed grape juice or concentrate. Make sure the juice is free of preservatives that could interfere with fermentation.
2. Sterilize Your Equipment
Cleanliness is key in winemaking. Use hot water and Campden tablets to sterilize your buckets, barrels, or other containers to avoid contamination.
3. Create Your Must
The must is the mixture of fruit juice (or mashed fruit), sugar, and water. Here’s how to prepare it:
- Add your juice or crushed fruit to a sterilized container.
- Mix in sugar (about 2-3 pounds per gallon of juice) depending on how sweet and alcoholic you want the final product to be.
- Stir well to dissolve the sugar.
4. Add Yeast and Nutrients
Next, add your wine yeast to the must. You can sprinkle it directly onto the surface of the juice. Optionally, add a yeast nutrient to ensure a healthy fermentation.
5. Primary Fermentation
This is where the magic starts:
- Transfer your must to a sterilized fermenting bucket or carboy, leaving some space at the top.
- Seal the container with an airlock (to let gases escape without letting air in).
- Store the container in a cool, dark place, ideally around 60-75°F (15-24°C). The fermentation process will take about 1-2 weeks. You’ll notice bubbles forming as the yeast converts sugar into alcohol.
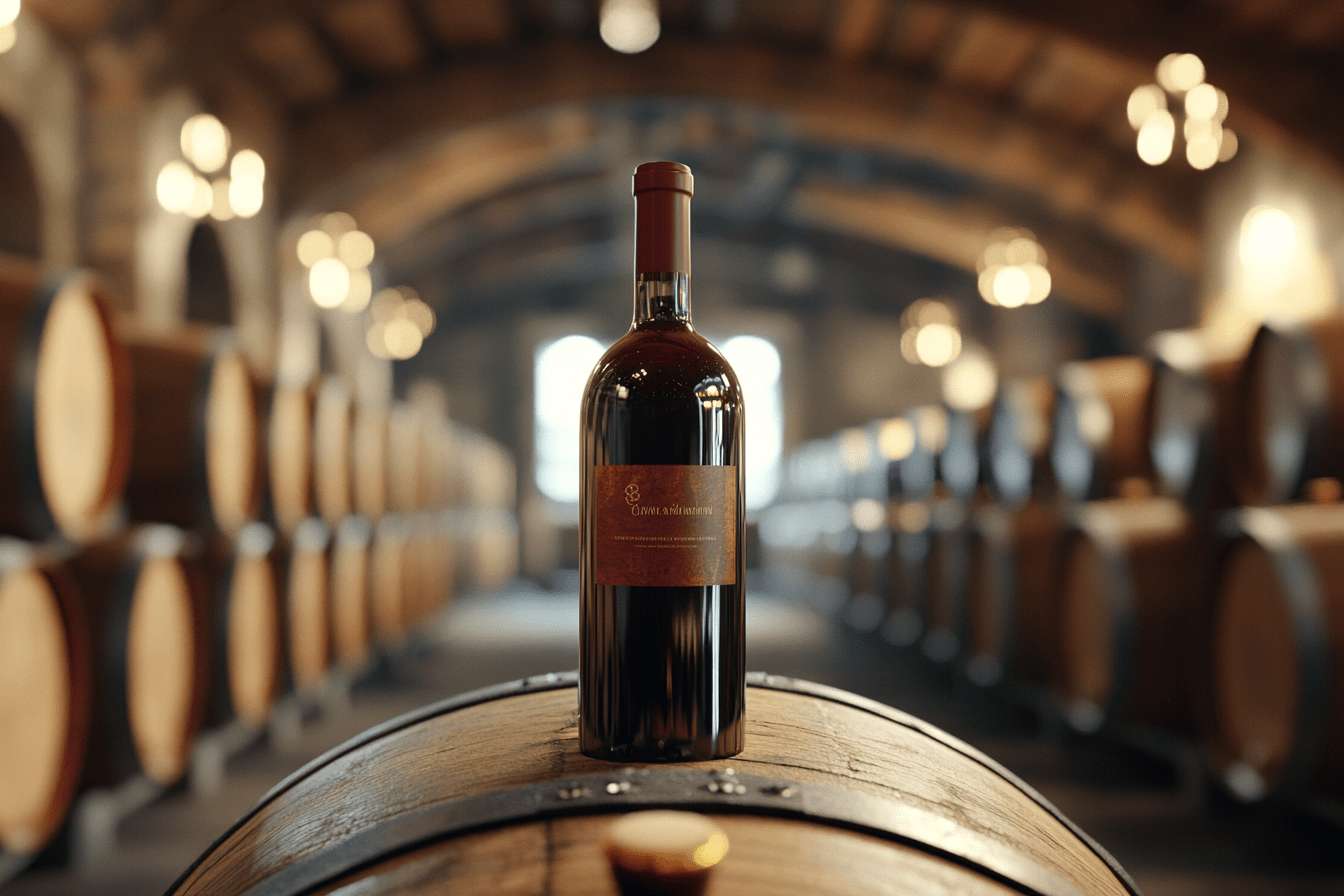
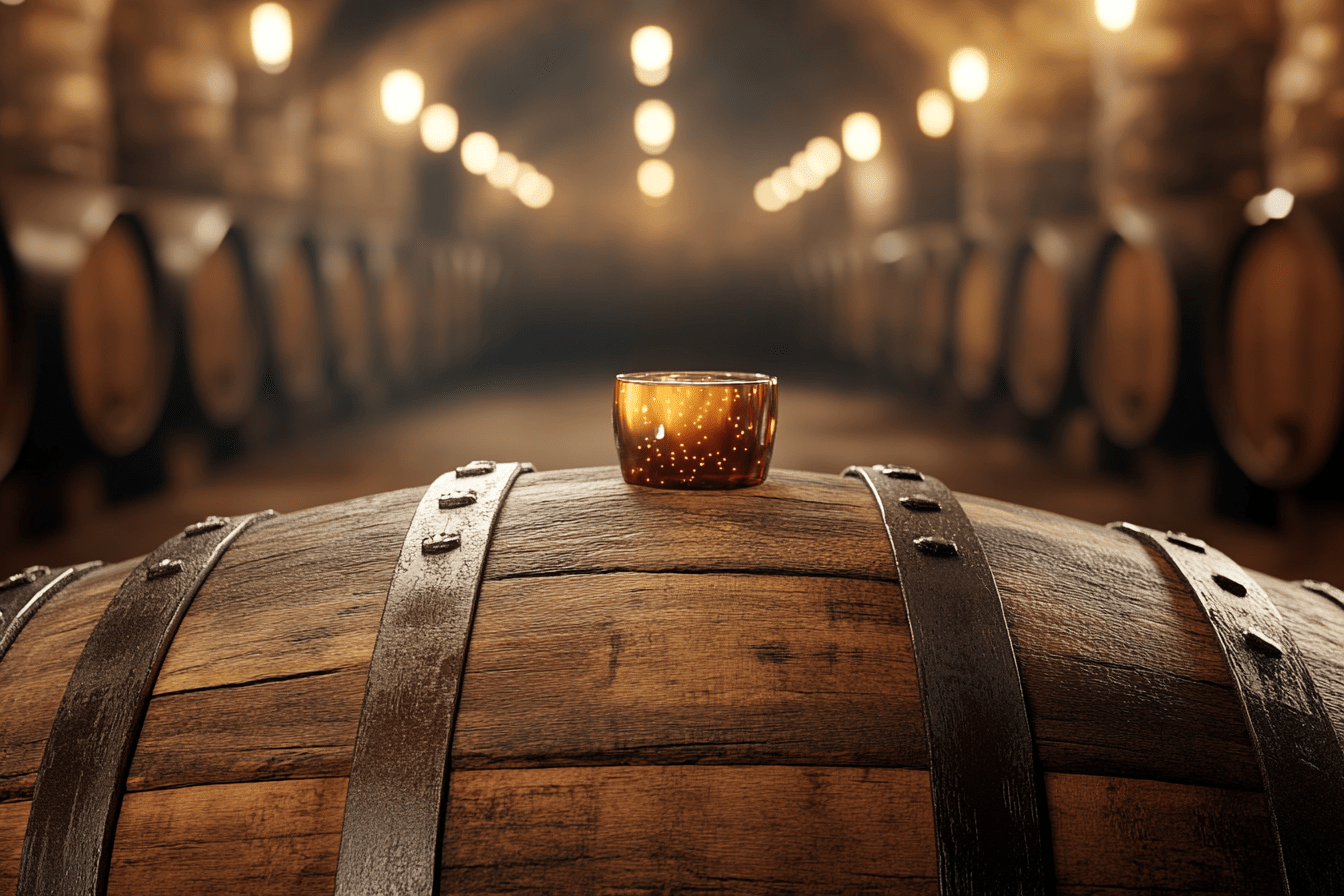
6. Aging in Oak or Cherry Barrels
Once primary fermentation is complete, it’s time to move your wine into an oak barrel or cherry barrel for aging. This is where the wood does its work, enhancing the flavor, aroma, and structure of the wine.
- Oak Barrels: These are known for imparting vanilla, spice, and smoky notes to the wine. They also help in rounding out tannins, leading to a smoother mouthfeel.
- Cherry Barrels: Using cherry barrels adds a more delicate, fruity note. They tend to produce a wine with a subtly sweet finish, which is ideal for lighter, fruitier wines.
Transfer the wine carefully into the barrel, ensuring no air is trapped inside. Depending on the type of wine, let it age for anywhere from 6 months to 2 years.
7. Racking and Clarifying
Over time, sediment will settle at the bottom of the barrel. You’ll need to rack the wine (transfer it to another container) every few months to separate it from the sediment. This helps clarify the wine, making it clear and free from particles.
8. Bottling and Corking
Once your wine has aged to perfection, it’s time to bottle it. Use sterilized wine bottles and a siphon to carefully transfer the wine from the barrel without disturbing the sediment.
Cork the bottles tightly and let them age for an additional few months for the best results.
Tips for Successful Home Winemaking
- Patience is Key: Great wine takes time, so resist the urge to open bottles early. The longer your wine ages in the barrel or bottle, the better it will taste.
- Experiment with Barrel Types: Don’t be afraid to experiment with different types of wood. Oak is the traditional choice, but cherry, chestnut, and even walnut barrels can provide unique flavors.
- Keep Detailed Notes: Track your recipes, timings, and any changes you make. This helps you refine the process and recreate successful batches.
Final Thoughts
Winemaking at home is a gratifying process that allows you to create a unique product tailored to your taste. Incorporating oak barrels or even more adventurous choices like cherry barrels can elevate your homemade wine, adding rich, complex flavors that are hard to achieve otherwise. Follow these simple steps, and with a little patience, you’ll be sipping on your very own handcrafted wine in no time!


 No products in the cart.